First steps
What you see after signing in, and the order in which to set things up.
All help topics
DoneWell keeps the whole path of a job in one place: a client asks for work, you send a quote, the quote becomes a job on the calendar, the job becomes an invoice, and the invoice gets paid. Every screen you use day to day sits on that line.
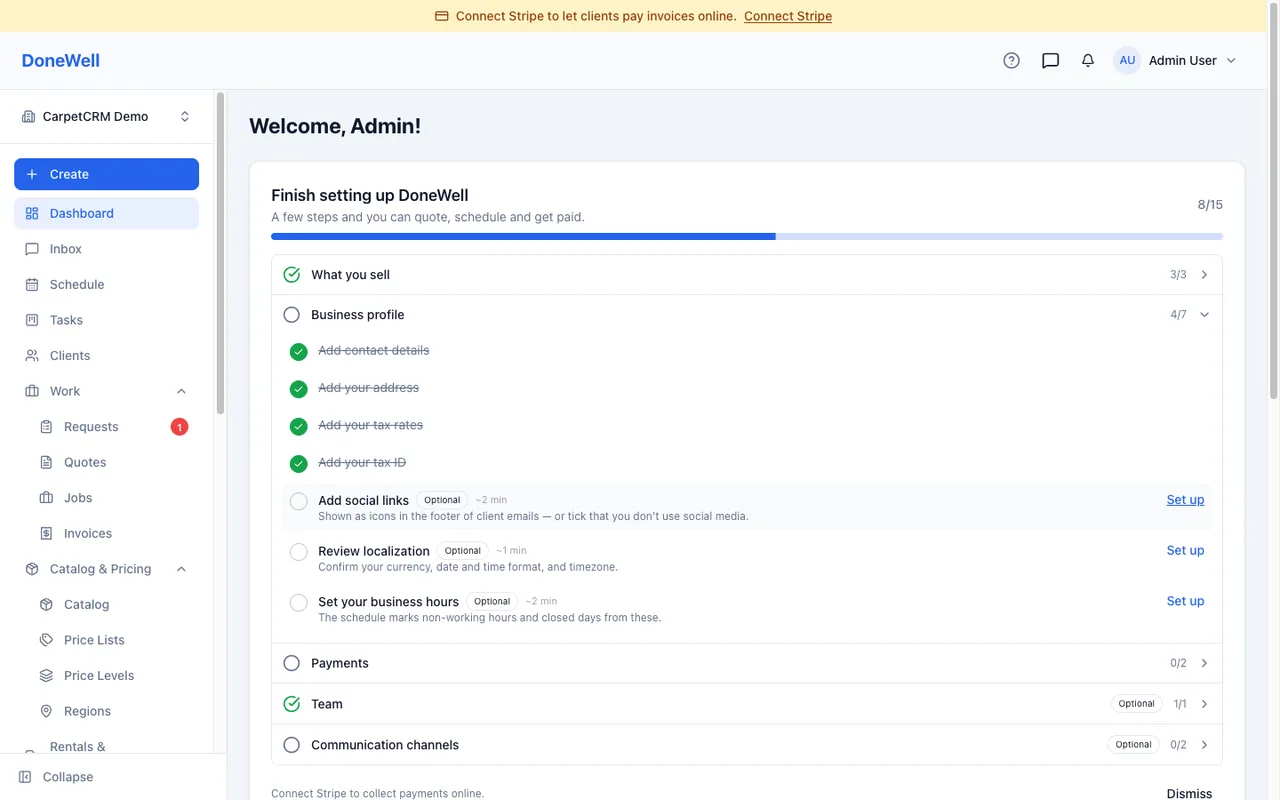
The dashboard
The dashboard is the home screen. It shows today's visits, requests that are waiting for a reply, quotes waiting for approval and invoices that are due — the things that need a decision from you now. Each card opens the list behind it.
Set up in this order
- Company — name, address, phone, logo, time zone and currency. They appear on every document you send, so this comes first. Open Settings → Company.
- Taxes and fees — the tax rate your documents apply and any standing charges (a travel fee, a minimum charge). Settings → Taxes and Settings → Fees.
- Catalog — the services and products you sell, with their prices, so a quote is a few clicks instead of typing. Products.
- Team — invite the people who will use DoneWell and give each a role. Settings → Users.
- Payments — connect Stripe if you want clients to pay invoices online by card. Settings → Payments.
The Setup guide on the dashboard walks through the same list and ticks steps off as you complete them. You can dismiss it once you are done.
Where things live
- Clients — everyone you work for, with their addresses and contact details.
- Requests, Quotes, Jobs, Invoices — the four documents, each with its own list.
- Schedule — the calendar of visits and who is assigned to them.
- Payments — every payment recorded, whether by card online or by hand.
- Settings — everything about how your company works, in one rail on the left.
The ? in the top bar of any page opens the help article for that page.
Missing something? Every guide is short on purpose — write to support@donewellapp.com and we will add it.